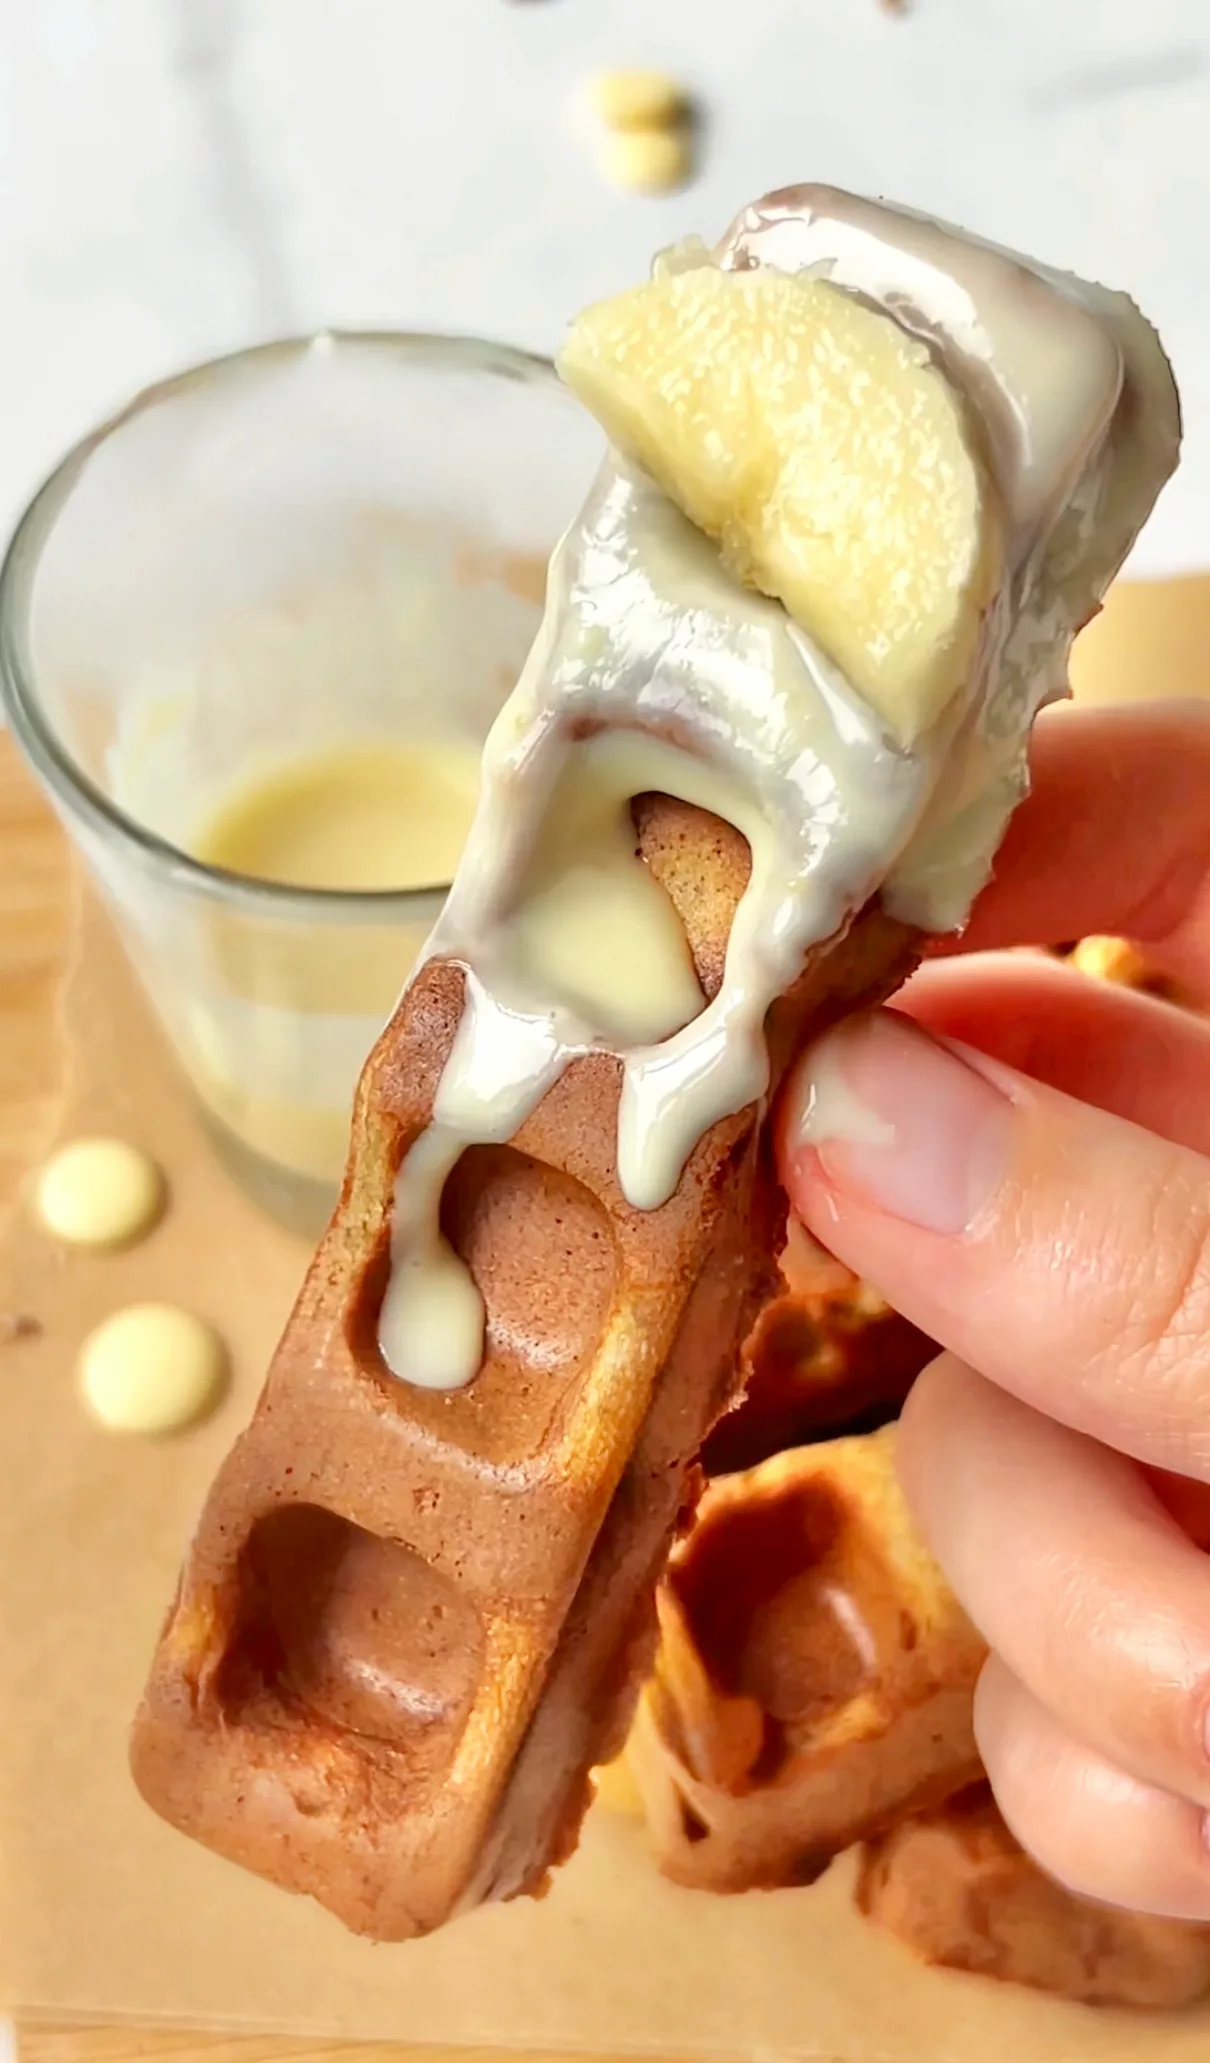
Gluten Free Banana Bread Waffles (4 ingredient, naturally sweetened and gluten free)
if you have overripe bananas sitting on your counter, you have to try these banana bread waffle sticks. they taste just like classic banana bread but take half the time and need only four simple, wholesome ingredients. no bowls of dry ingredients, no waiting for a loaf to bake, just banana bread flavour in waffle form and on the table in 20 minutes.
these gluten free banana bread waffles are naturally sweetened with ripe bananas, completely added sugar free, and made with cassava flour for the perfect soft, slightly fluffy texture. cassava flour is made from the whole root of the cassava plant and has a naturally neutral flavour that works really well in waffles, giving them a soft crumb without the graininess you sometimes get with other gluten free flours. the texture is genuinely reminiscent of a classic banana bread loaf, just in a crispier, more portable waffle shape.
one thing i love about bananas as a sweetener is that they bring so much more than just sweetness. they add natural moisture to the batter, contribute potassium and vitamin B6, and help create that soft, tender interior. the more spotted and overripe your bananas are, the sweeter and more flavourful your waffles will be, so this is genuinely one of the best uses for bananas that have gone past the point of eating fresh.
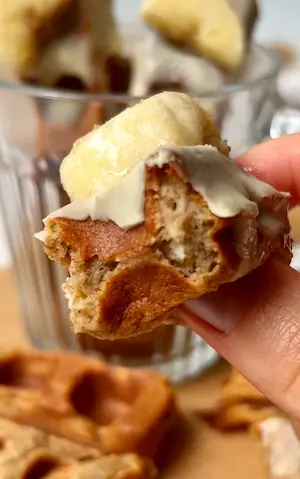
i love turning these banana bread waffles into waffle sticks, as the outside gets lightly golden and crisp while the inside stays fluffy and tender, just like your favourite banana bread loaf. you can also make these as traditional waffles or even as fluffy pancakes if you don't have a waffle maker. the batter works beautifully in a pan on medium-low heat, making this a super versatile recipe for whatever equipment you have available.
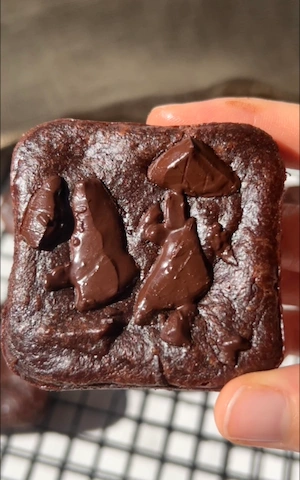
these are perfect for busy mornings since the batter comes together in under 10 minutes and the waffles cook quickly. they also store well in the fridge and reheat beautifully in the toaster or oven, so you can make a batch at the weekend and enjoy them all week. feeling more banana bread goodness? your next bake should be my chocolate chip banana bread bars.
Frequently Asked Questions
Are these banana bread waffles gluten free?
Yes. These waffles are made with cassava flour, which is naturally gluten free and grain free. Unlike some gluten free flour blends, cassava flour is also paleo-friendly. Make sure the baking powder you use is also gluten free if you are strictly avoiding gluten.
How do I store waffle sticks?
Store these banana bread waffle sticks in an airtight container in the fridge for 2 to 3 days. Reheat in the toaster or oven for the best eating experience. They can also be frozen in a single layer, then transferred to a freezer bag for up to 1 month. Reheat from frozen in the toaster or oven until warmed through and lightly golden again.
Are these banana bread waffles sugar free?
These waffles contain no added sugar. The sweetness comes naturally from overripe bananas, which makes them added sugar free and refined sugar free. Bananas do contain naturally occurring fruit sugars, but no sweetener is added to the batter itself.
Can I substitute cassava flour?
Cassava flour works best for the soft, fluffy texture in this recipe. A 1:1 gluten free flour blend is the closest substitute, though the texture may vary slightly depending on the blend. Almond flour is not a good direct substitute here as it absorbs moisture differently and will result in a much denser batter. I recommend sticking with cassava flour or a 1:1 gluten free blend for the best results.
Can I make dairy free banana bread waffles?
Yes, this recipe is naturally dairy free. There is no butter or dairy-based ingredients in the batter. You can top with any dairy-free drizzle such as melted coconut oil, maple syrup, or a dairy-free white chocolate for a complete dairy-free result.
Can I freeze banana bread waffles?
Yes. Let them cool completely after cooking, then freeze in a single layer on a tray before transferring to a freezer-safe container or bag. To reheat, pop them straight into the toaster or oven from frozen and heat until warmed through and slightly crispy. They come out almost as good as fresh.
Why are my waffles sticking to the waffle maker?
Make sure your waffle iron is fully preheated before adding the batter, as adding batter to a cold or only partially heated iron is the most common cause of sticking. Lightly grease the plates with cooking spray or a thin wipe of oil before each batch. Also let the waffles cook fully without opening the iron early: the waffle will release naturally from the plates once it is properly cooked and lightly golden.
Can I make these into pancakes instead of waffles?
Yes, absolutely. The same batter works really well as fluffy pancakes. Heat a non-stick pan on medium-low heat and add a small amount of oil or cooking spray. Pour small portions of batter and cook for about 2 minutes until the surface starts to bubble, then flip and cook for another 1 to 2 minutes. They come out soft, fluffy, and delicious.
Pro Tips
- Use very overripe bananas with lots of brown spots. The more ripe they are, the sweeter and more flavourful your waffles will be without needing any added sugar.
- Let the waffles cook fully before opening the waffle iron. They need time to set and will stick if you open the iron too early. Wait for the steam to reduce before checking.
- The batter is on the runnier side, which is normal for this recipe. Don't be tempted to add more flour as the texture loosens up beautifully once cooked.
- Reheat leftovers in the toaster or oven rather than the microwave. The toaster restores the golden, slightly crisp exterior that makes these so satisfying.
Gluten Free Banana Bread Waffles
Ingredients
Instructions
- Step 1: Preheat your waffle maker per its instructions. If making pancakes instead, heat a pan on low to medium heat and add a little oil if needed.
- Step 2: In a bowl, mash the bananas well. Add in the eggs and cinnamon and mix until combined.
- Step 3: Stir in the baking powder and cassava flour. The batter will be on the runnier side.
- Step 4: Add a few teaspoons of batter to your waffle maker or pan. Cook for approximately 2 minutes on each side until lightly golden.
- Step 5: Let them cool slightly and enjoy!
Nutrition Facts
Per one serving:
*Nutritional information is estimated and will vary depending on the ingredients and brands you use. Basic macros don't reflect the full nutritional value including vitamins, minerals, antioxidants, and other beneficial compounds. Please use this as a guideline only.