Gluten Free Brownie Cookies (gluten free, grain free and refined sugar free)
i have to give full credit for this recipe to my mum. she has been making a version of these brownie cookies for as long as i can remember, always for special occasions, with that reaction where everyone immediately asks for the recipe. i grew up eating them and when i started developing my own recipes, making a gluten free, refined sugar free and dairy free version that tasted just as good as hers became a bit of a personal mission. after a round of test batches, i finally got there and it's safe to say they are mother approved since she always asks me to make them lol
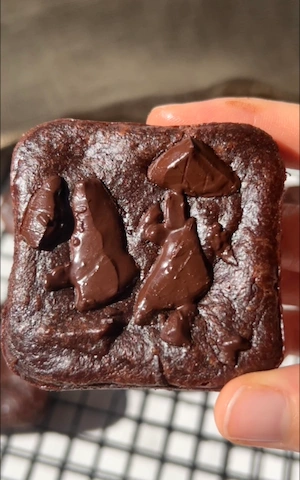
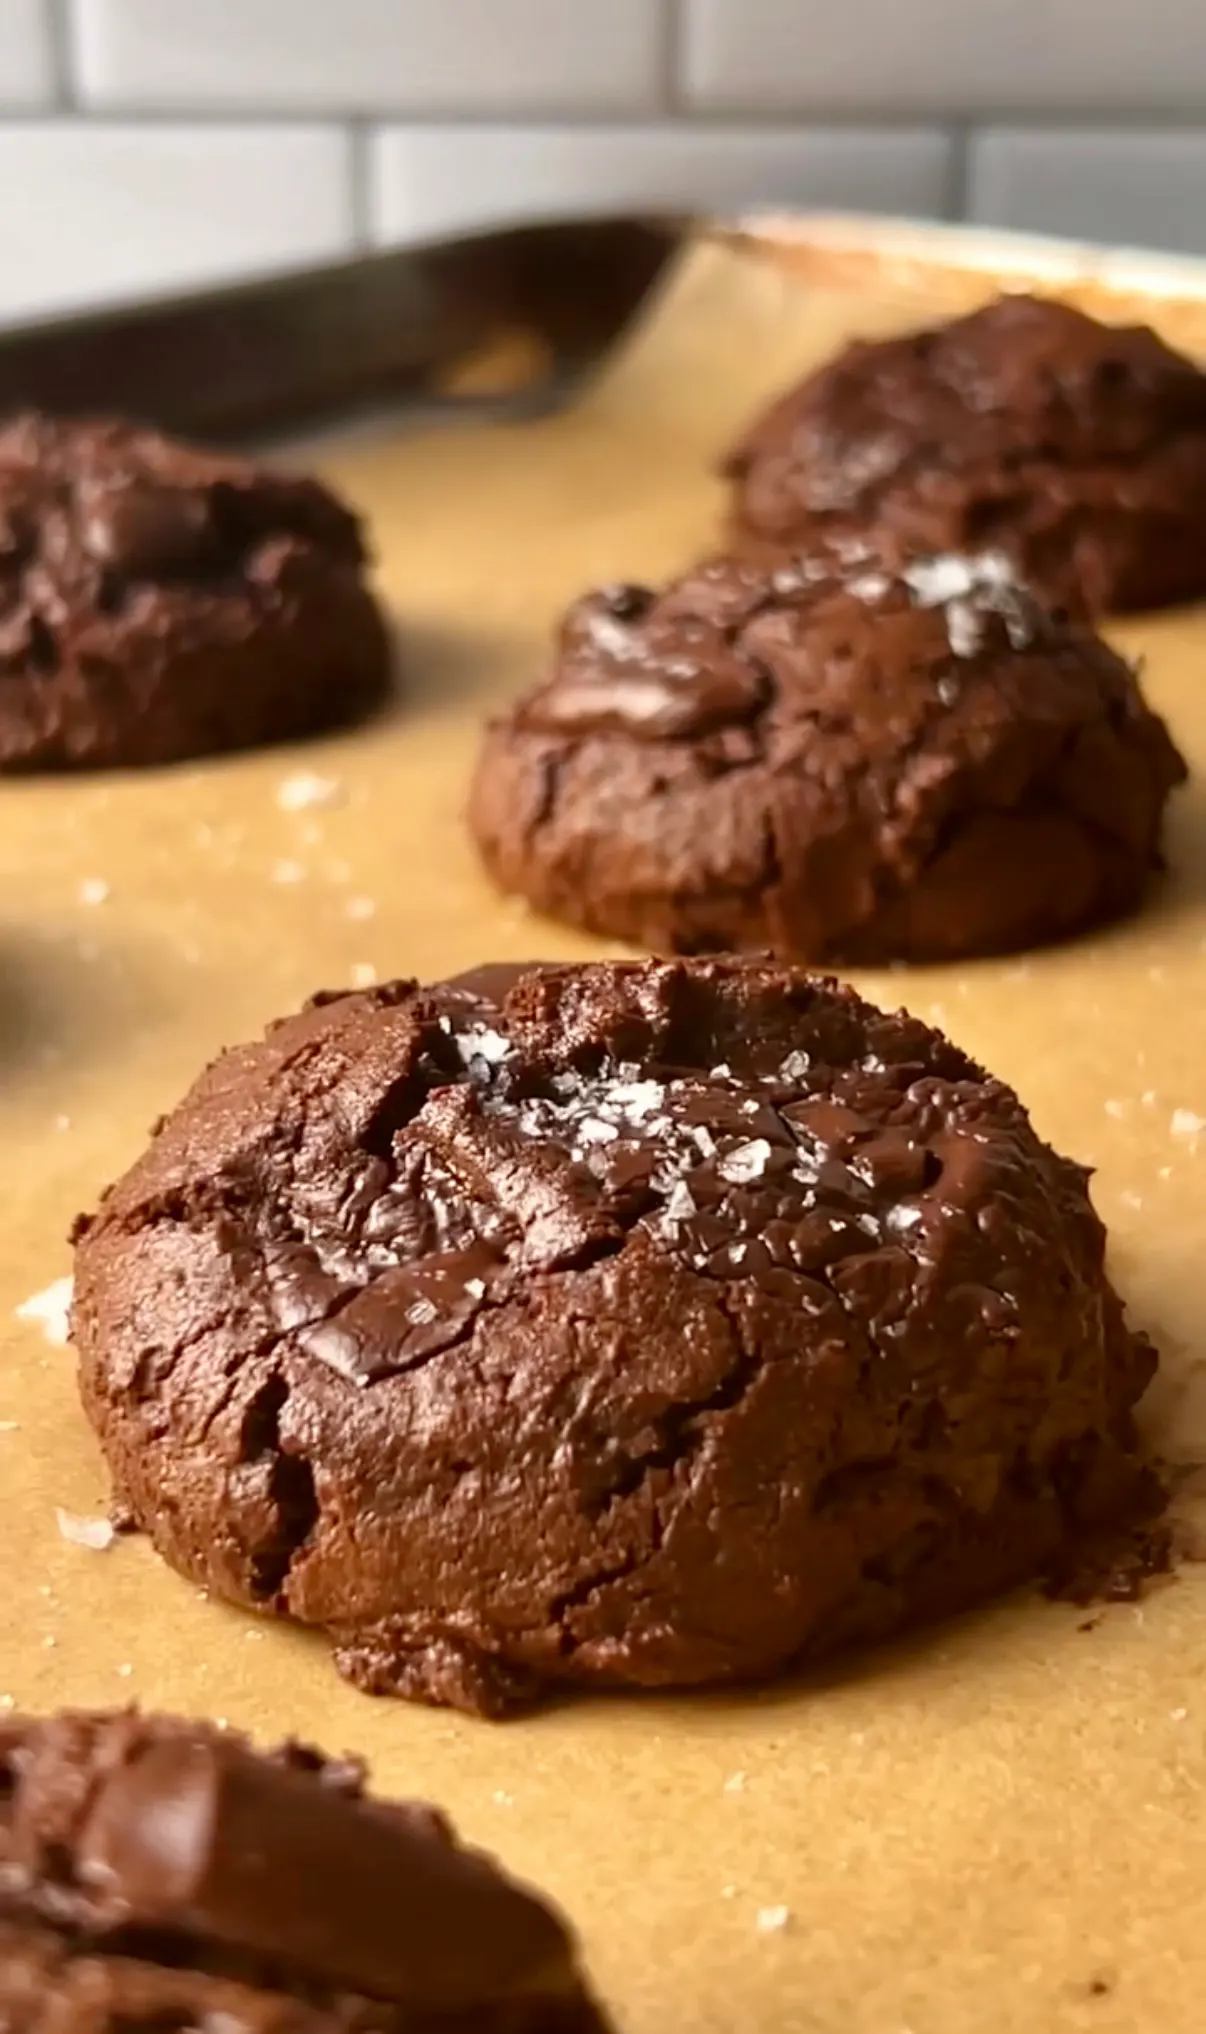
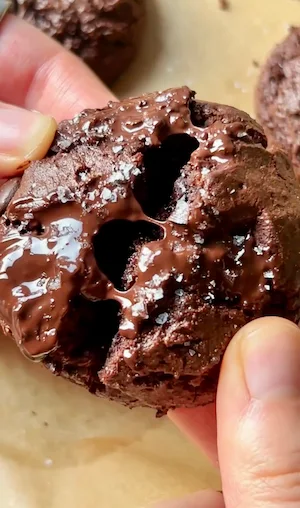
chunky, gooey brownie cookies that are rich, decadent, and fudgy to the core. if you are the type of person who likes chocolate with your chocolate then you have found your match. these went viral and i completely understand why. they look like they came from your local bakery, the centre is properly gooey, but the edges are crisp and the top is perfectly crinkled. with a sprinkle of sea salt as a finishing touch they truly taste so decadent, you will be surprised how easy they are to make.
the key to the perfect brownie cookie is ensuring that you let it cool completely. don't be tempted to pick them up right after baking. i know it's hard but you will ruin the cookies, they need to be completely cool before eating as they are just so fragile they will break. the reason for this is that the cookies spend a very short time in the oven, i find that 7 minutes is the perfect amount in my oven. this means that as they cool they continue to bake and reach that gooey centre that we all love. once cooled, enjoy as your heart desires!
there are two things that make these cookies what they are and both matter. first, you whip the eggs and coconut sugar together until pale and slightly thickened before adding the melted chocolate. this incorporates air into the batter and is exactly what gives you those beautiful crackled tops. second, the batter goes into the freezer for 10 minutes before baking. it sounds like an extra step but it makes a real difference: it firms up the batter so the edges set properly in the oven while the centre stays completely soft and fudgy. please don't skip either step.
coconut sugar is the sweetener here and it works so well in this recipe. it has a deeper, more complex flavour than regular white sugar, almost toffee-like, and it adds a real richness to the already intense dark chocolate batter. it also has a lower glycemic index than regular white sugar, which means it doesn't cause the same spike in blood sugar. it's also what creates that gorgeous shiny, crackled surface on top. if you swap it for a different granulated sweetener the cookies will still be delicious but that crackle won't be quite as dramatic.
the quinoa flour is what gives these cookies structure without any wheat flour. quinoa is technically a seed so it is naturally gluten free and grain free, and quinoa flour has a very mild, slightly nutty quality that disappears completely in the presence of all that dark chocolate. it keeps the cookies tender without making them cakey or dense. if you can't get hold of quinoa flour, a 1:1 gluten free flour blend works as a substitute. there is also an option to make these gluten free brownie cookies dairy free too (see the FAQ) however, i find that the butter version does taste slightly better and is fudgier.
a note on the chocolate: quality really does matter here. this is essentially a chocolate batter with a little bit of flour and an egg, so the chocolate is carrying almost the entire flavour. i use a 70% refined sugar free dark chocolate and the difference between a good quality bar and a supermarket own-brand one is very noticeable in the final cookie. it is worth the splurge in this case!
the cooling step is the one i get the most messages about because it's honestly the hardest part of this recipe. they come out of the oven looking underdone and still very soft, and every instinct tells you to either bake them longer or at least try one immediately. please resist. the centre sets as they cool and what looks like an underbaked mess at minute 7 turns into that perfect, fudgy centre by the time they've had 15 to 20 minutes on the tray. if you move them before that, they'll fall apart. i know this because i've done it more times than i'd like to admit.
a very special thank you goes to a reader who suggested that i add in the cocoa powder after the butter and chocolate are melted as it helps bring out the richness and flavour! (thank you Sophie!) both methods work, so try it out and see what you prefer! it's a small tweak but it does make a difference to how chocolatey and intense the final cookie tastes. so try both versions and see what you prefer!
one more thing worth mentioning: these cookies are noticeably different at different temperatures. warm from the oven they're quite soft and almost brownie-like in texture. at room temperature on the day of baking they have more structure but are still fudgy. from the fridge the next day they're denser and chewier, more like a proper chocolate cookie. all three are great but i have a slight preference for the fridge version.
for storage: an airtight container at room temperature for 2 to 3 days or in the fridge for up to 5 days. from the fridge they're a slightly different texture, denser and a bit firmer, which i actually love. if you want that fresh-from-the-oven experience, pop a fridge cookie in the microwave for 10 seconds and it comes straight back to life. you can also freeze them individually and pull them out as needed, which is how i love to store them. after baking a batch, set aside a few to keep in the freezer for any kind of last minute special occasion or gift as they are such a hit, and who doesn't want homemade cookies! pro tip: if you plan to freeze any of the cookies, put them in the freezer after they have cooled from baking. the fresher they are when you freeze them, the better they taste after defrosting. they truly still taste like they are freshly baked somehow!
my preferred way to defrost these gooey brownie cookies is to simply just take them out a few hours before i want to eat them and let them sit on the counter. they also reheat perfectly from frozen with just 15 seconds in the microwave or you can pop them in the oven on a low temp.
Frequently Asked Questions
How should I store gluten free brownie cookies?
Store in an airtight container at room temperature for 2 to 3 days or in the fridge for up to 5 days. They can also be frozen in a single layer, then transferred to a freezer-safe container for up to 2 months. To reheat, warm in the oven at 160°C for 3 to 4 minutes for that fresh-from-the-oven texture with a gooey centre.
Can I make these gluten free brownie cookies dairy free?
Yes. Substitute the butter with an equal weight of solid coconut oil to make these dairy free. The texture will be very slightly different, slightly less rich and a touch more fragile, but still delicious and gooey. For the best dairy free result, bake them for 1 to 2 minutes less than the stated time and allow them to cool completely on the tray before touching them.
Can I use milk chocolate instead of dark chocolate?
Yes, you can use milk chocolate for a slightly sweeter, less intense cookie. Keep in mind that most milk chocolate contains refined sugar and dairy, so if you are keeping these refined sugar free or dairy free, stick with a dark chocolate that meets your requirements. Dark chocolate at 70% or above gives the best rich, intense brownie flavour.
What can I substitute for quinoa flour?
A 1:1 gluten free flour blend is the easiest substitute and should work well. Regular all-purpose flour can also be used if you are not avoiding gluten. Almond flour is not recommended as a direct substitute since it absorbs moisture very differently and will significantly change the texture. The texture may vary slightly with any substitute, but the cookies should still be fudgy.
Why are my brownie cookies not gooey in the centre?
They were most likely overbaked. These cookies look underdone when they come out of the oven, and that's intentional. They continue to set as they cool on the tray. Remove them from the oven when they still look soft and slightly underdone in the centre, and resist the urge to touch or move them until they are fully cooled.
Why do I need to freeze the batter before baking?
The 10 minute freezer rest firms up the batter slightly so it holds its shape when scooped and doesn't spread too thin in the oven. It's a small step that makes a big difference to the final texture, giving you thicker cookies with those characteristic crackled tops and soft fudgy centres rather than flat, over-spread cookies.
Pro Tips
- Let the cookies cool completely on the tray before eating or moving them. They look and feel underdone straight from the oven but continue to set as they cool into those perfect fudgy centres.
- Use good quality dark chocolate. it is the star of the recipe and the quality directly affects the depth of flavour. a good 70% dark chocolate makes a huge difference.
- Don't skip the 10 minute freezer rest. This step firms up the batter so the cookies hold their shape in the oven and develop those gorgeous crackled tops.
- Sprinkle with flaky sea salt just before baking for a contrast that takes these from great to exceptional.
Gluten Free Brownie Cookies
Ingredients
Instructions
- Step 1: Preheat the oven to 190°C/180°C fan.
- Step 2: Cut the butter into pieces and add to a pan with the dark chocolate over very low heat. Stir until melted and combined. Set aside to cool.
- Step 3: In a separate bowl, beat the eggs and coconut sugar with an electric whisk or stand mixer for 2 minutes until pale and slightly thickened.
- Step 4: Add the cooled chocolate and butter mixture to the eggs and sugar. Stir to combine.
- Step 5: Add the quinoa flour, baking powder and cocoa powder. Mix until just combined.
- Step 6: Place the bowl in the freezer for 10 minutes, then scoop onto a lined baking tray.
- Step 7: Top with extra chocolate chips or chunks and a pinch of sea salt.
- Step 8: Bake for 7 to 10 minutes. They will look very soft when they come out. Leave them to cool fully before eating.

did you make this recipe?
snap a pic & tag @yourwellnessgirly so i can see! i'd love to hear how it went, share ur thoughts and leave a star rating!
Nutrition Facts
Per one serving:
*Nutritional information is estimated and will vary depending on the ingredients and brands you use. Basic macros don't reflect the full nutritional value including vitamins, minerals, antioxidants, and other beneficial compounds. Please use this as a guideline only.
Reviews
Be the first to leave a review
Leave a review
Thanks for your review! It's now live. 💗
No reviews yet — be the first!